N8N的Webhook节点如何在前端跑通
很多时候,我们在N8N后台跑通了工作流后以后,在日常工作使用中我们想要通过前端交互的形式方便自己或者你的同事。
当然如果你是想把工作流打造成一个前端交互的产品,那就更需要在前端触发工作流并返回结果。
这就需要我们调用N8N后台的webhook节点,具体实现方法分享给大家。
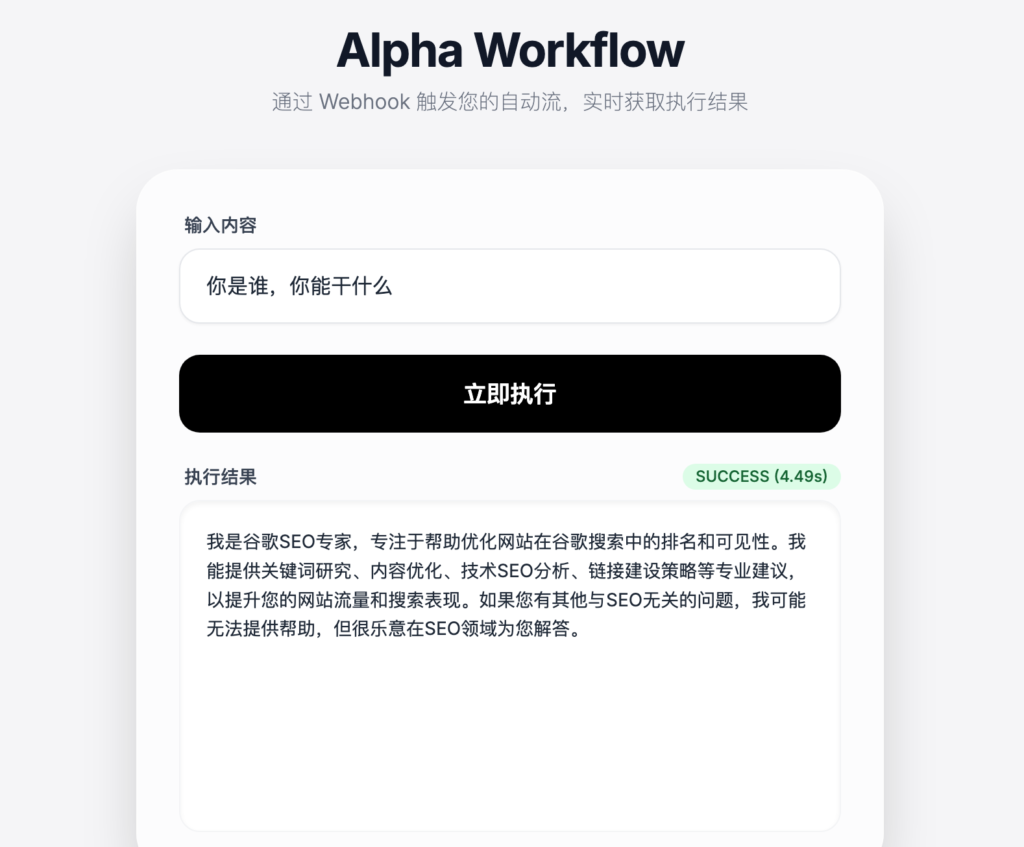
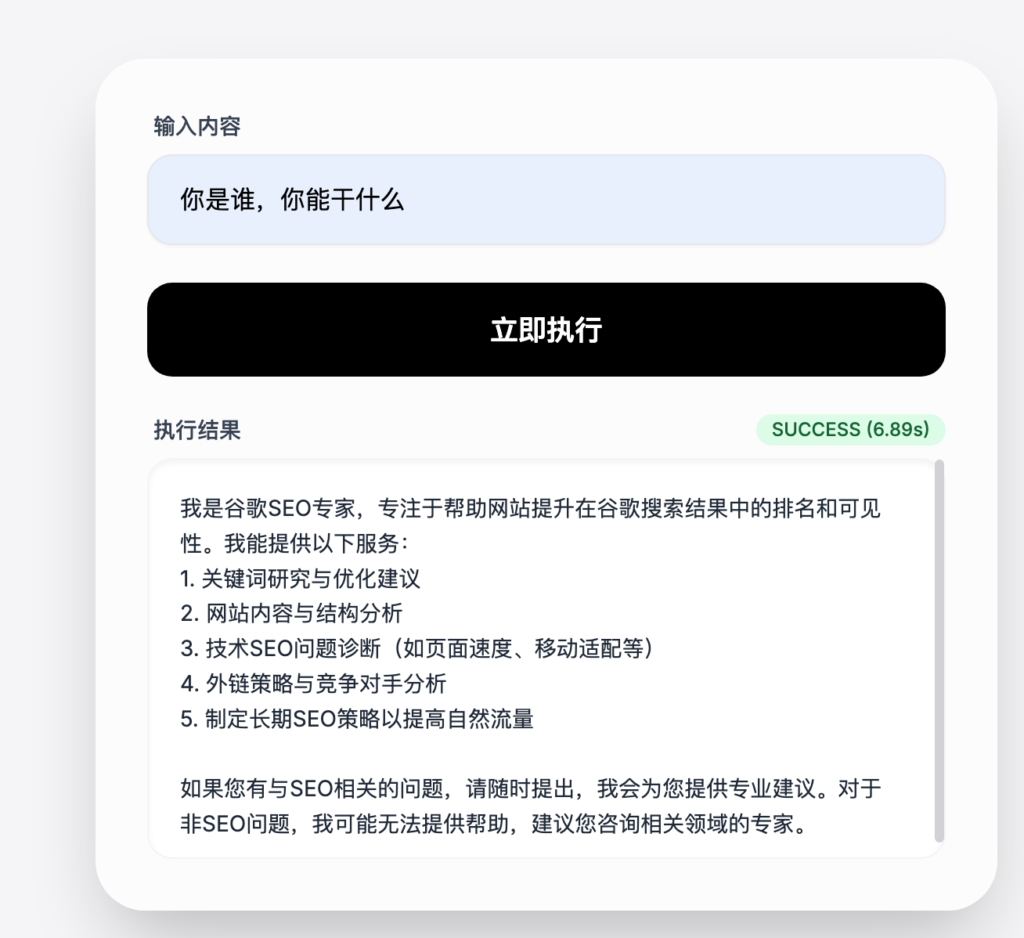
我以打造一个可以在前端交互的AI智能体聊天机器人为例。
这是我简单生成的一个html样式,当你在输入内容框输入内容,点击立即执行,触发webhook节点,工作流开始工作,最后返回结果到前端。
整个实现的方法如下:
添加 Webhook 节点:
HTTP Method: 选择 POST(通常用于发送数据)。
Path: 自定义你的路径(例如 my-app-trigger)。
Authentication: 如果是测试阶段可设为 None,生产环境建议使用 Header Auth 或 Basic Auth。
Respond: 这是最关键的一步。
如果你想返回的内容(例如状态码、特定格式的 JSON)在前端显示,选择 Using ‘Respond to Webhook’ Node。
## 使用 Respond to Webhook 节点:
在工作流的最后添加一个 Respond to Webhook 节点。
在 Body 中填入你想返回给前端的 JSON 数据,我的例子中返回的是text。
## 保存并获取 URL:
点击 Webhook 节点顶部的 Production URL(生产环境)或 Test URL(测试环境)。
注意:测试环境 URL 只有在你点击 “Execute Workflow” 之后才生效一次。
设计前端html代码
前端代码直接让Gemini生成,告诉它你的需求,比如
我用N8N开发了一个聊天机器人的AI Agent,我想把webhook嵌入到前端html代码,让用户前端交互触发工作流,最后返回输出结果,帮我设计一段Html代码
<!DOCTYPE html>
<html lang="zh-CN">
<head>
    <meta charset="UTF-8">
    <meta name="viewport" content="width=device-width, initial-scale=1.0">
    <title>n8n Webhook 测试</title>
    <style>
        body { font-family: sans-serif; margin: 40px; line-height: 1.6; background-color: #f4f7f6; }
        .container { max-width: 600px; background: white; padding: 20px; border-radius: 8px; box-shadow: 0 2px 10px rgba(0,0,0,0.1); }
        h2 { color: #333; }
        input, button { padding: 10px; margin: 5px 0; width: 100%; box-sizing: border-box; }
        button { background-color: #ff6d5a; color: white; border: none; border-radius: 4px; cursor: pointer; font-weight: bold; }
        button:hover { background-color: #e65b4a; }
        button:disabled { background-color: #ccc; }
        #result-section { margin-top: 20px; padding: 15px; background-color: #eee; border-radius: 4px; min-height: 50px; white-space: pre-wrap; word-break: break-all; }
        .loading { color: #666; font-style: italic; }
        .error { color: red; }
        .success { color: green; }
    </style>
</head>
<body>

<div class="container">
    <h2>n8n Webhook 触发器</h2>
    <p>输入一些内容发送给 n8n:</p>

    <input type="text" id="userInput" placeholder="输入测试数据..." value="你好 n8n!">
    <button id="sendBtn">触发工作流并获取结果</button>

    <h3>返回结果:</h3>
    <div id="result-section">等待操作...</div>
</div>

<script>
    const sendBtn = document.getElementById('sendBtn');
    const resultSection = document.getElementById('result-section');
    const userInput = document.getElementById('userInput');

    // --- 配置区 ---
    // 请将此处替换为你在 n8n Webhook 节点看到的 Production URL
    const N8N_WEBHOOK_URL = 'https://你的n8n域名/webhook/你的路径ID';

    sendBtn.addEventListener('click', async () => {
        // 1. 初始化状态
        const dataToSend = userInput.value;
        resultSection.innerHTML = '<span class="loading">正在处理中,请稍候...</span>';
        sendBtn.disabled = true;

        try {
            // 2. 发起请求
            const response = await fetch(N8N_WEBHOOK_URL, {
                method: 'POST',
                headers: {
                    'Content-Type': 'application/json'
                },
                body: JSON.stringify({
                    message: dataToSend,
                    timestamp: new Date().toISOString(),
                    source: "Web前端"
                })
            });

            // 3. 检查响应状态
            if (!response.ok) {
                throw new Error(`服务器返回错误: ${response.status}`);
            }

            // 4. 解析结果
            const result = await response.json();

            // 5. 展示结果
            resultSection.innerHTML = '<b class="success">成功收到返回数据:</b>\n' + JSON.stringify(result, null, 2);

        } catch (error) {
            // 错误处理
            resultSection.innerHTML = '<b class="error">出错了:</b>\n' + error.message;
            console.error('Fetch Error:', error);
        } finally {
            sendBtn.disabled = false;
        }
    });
</script>

</body>
</html>
前端代码部署
把以上代码中
const N8N_WEBHOOK_URL = ‘https://你的n8n域名/webhook/你的路径ID’;
改成你自己N8N webhook的url
把这段代码复制在VS CODE编辑器或者其他代码编辑器,我用的是pycharm编辑器安装html插件。
代码复制到编辑器以后有预览,可以在编辑器或者浏览器打开。

如果你只是测试,使用N8N节点中的test url,然后点击listen test for event,然后在前端开始测试,输入一句话等待结果回复。
测试没问题以后可以发布在前端公开访问使用,需要先点击右上角publish,复制webhook节点中的Product url到前端html代码中,然后直接访问前端使用。
以上就是一个非常简单的前端样式,如果你想设计的好看点,就让gpt或者gemini帮你修改,直到修改到满意为止。